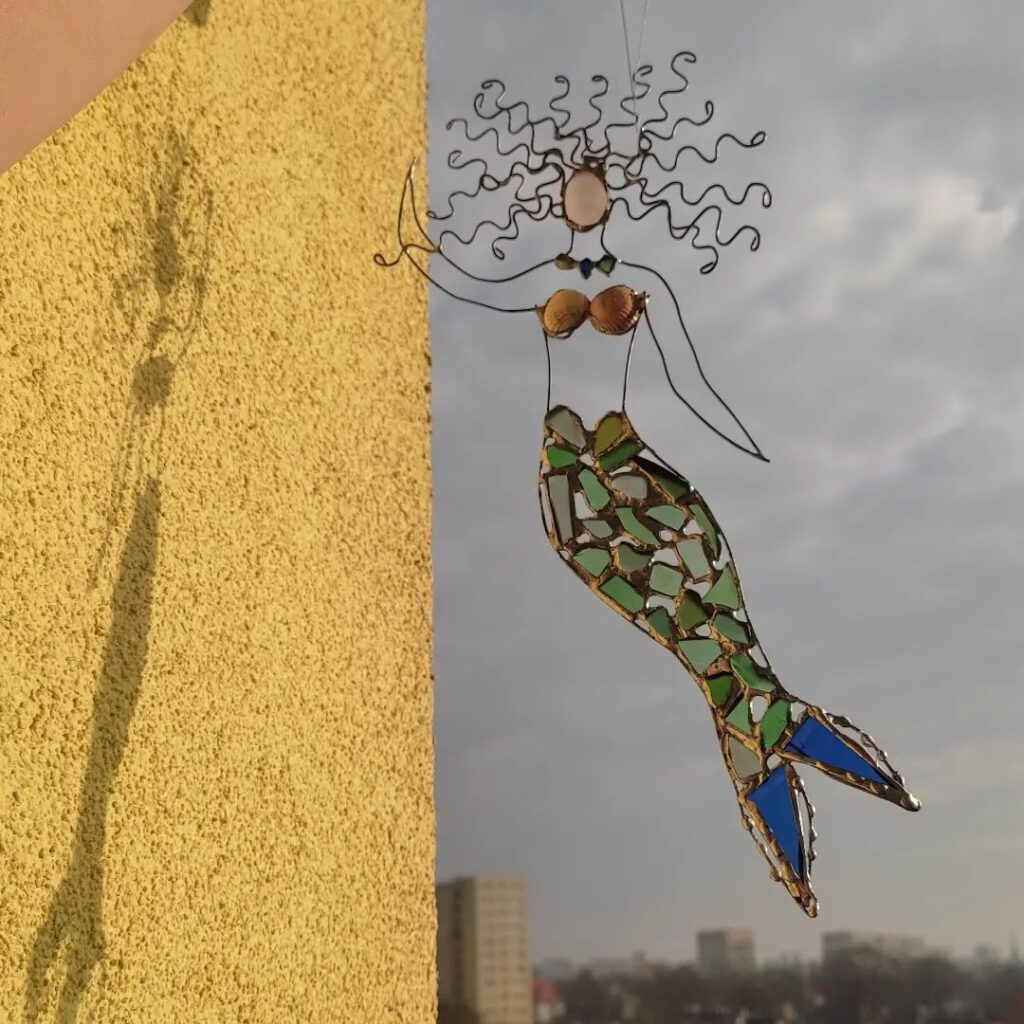
To make a mermaid suncatcher like that, you’ll need some green sea glass, big white oval piece for the head, two similar sea shells for the bra, small bright glass pieces for the necklace. If you have dark blue sea glass for the fins – good for you, I cut those out of the bottle.
If you don’t have sea glass, you can make everything out of broken bottles, your upcycled mermaid will be brighter. Those sea shells are crucial, I’m afraid. If you never done any stained glass, I highly recommend to google for some tutorial for beginners to get the idea (especially about the cost of this hobby :-).
But this project is a good one for start. Especially since you don’t really need a grinder (just be extra careful with sharp edges of bottle glass) or cutting practice: break the bottle somewhere where it’s easy to swipe, and with simplest cutter make random pieces for the tail and as close to oval as you can for the head (you can then mask defects with copper foil). Wear safety goggles!
So you will also need: zinc-coated or copper wire about 1 mm thick, wire cutter and pliers, soldering iron 100 Wt, stained glass flux, 60/40 solder without rosin. When not sure – just buy from stained glass shop.
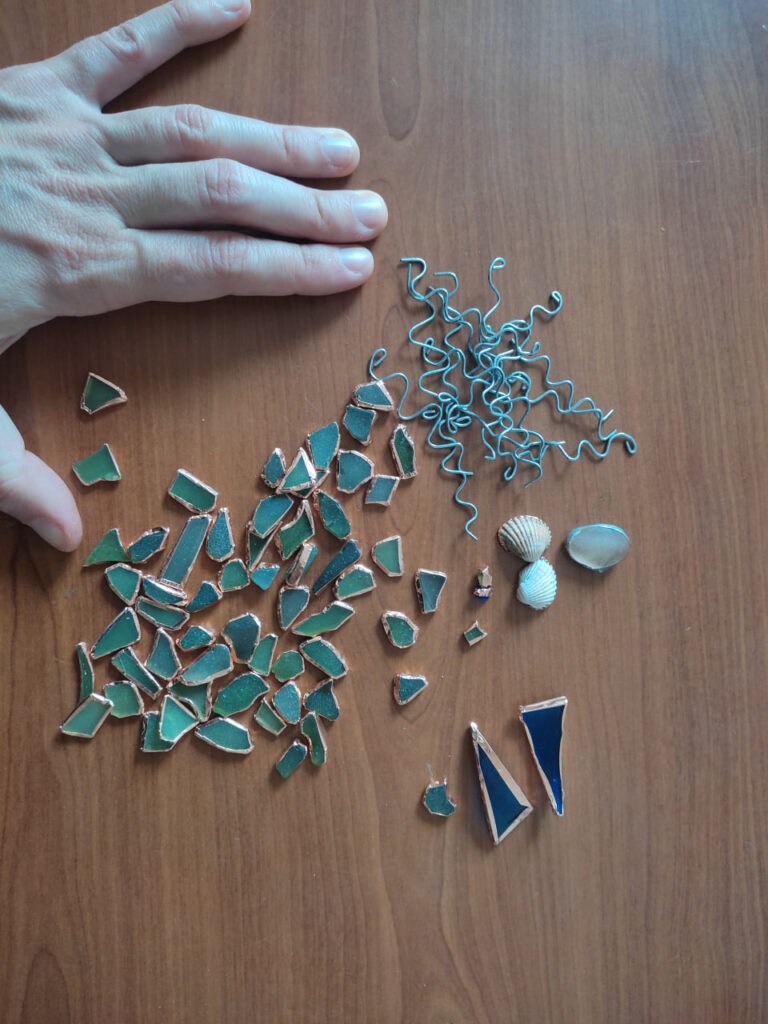
Foil all the glass pieces and shells. I also pre-make bent wire pieces for hair:
Cover the head piece foil with solder and start working on silhouette. I draw rough sketch to get proportions, then start bend and cut the wire:
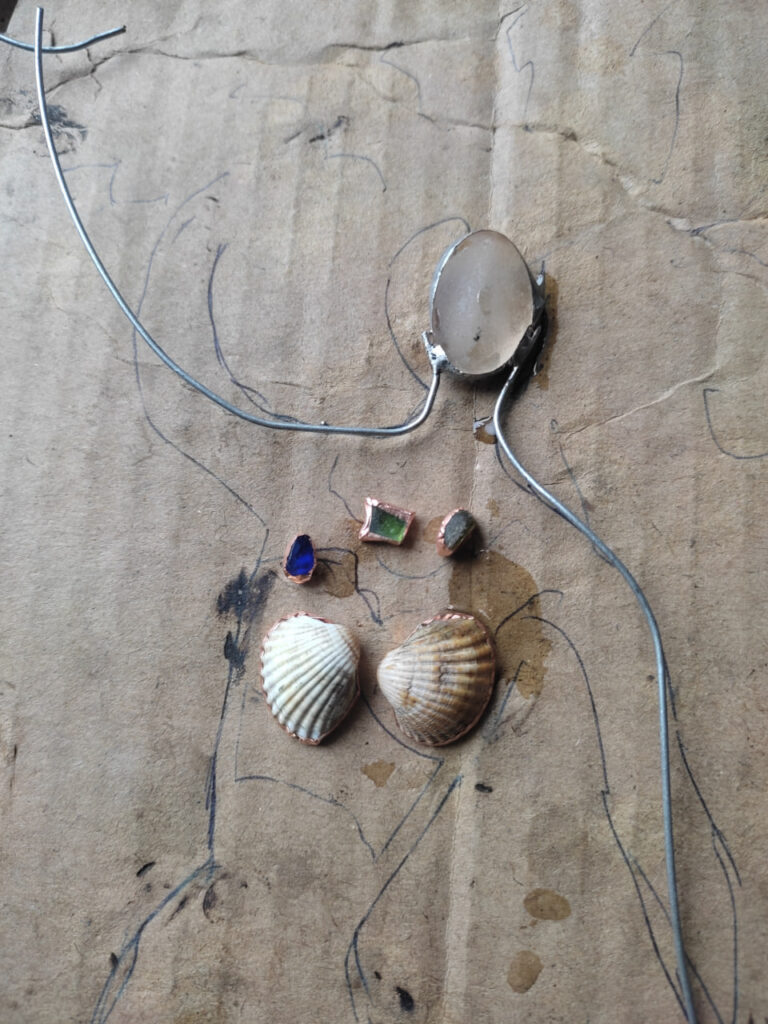
Better first get the right shipe of the wire piece, and then attach it to the head. If you start bending after soldering them together, you risk to break the foil.
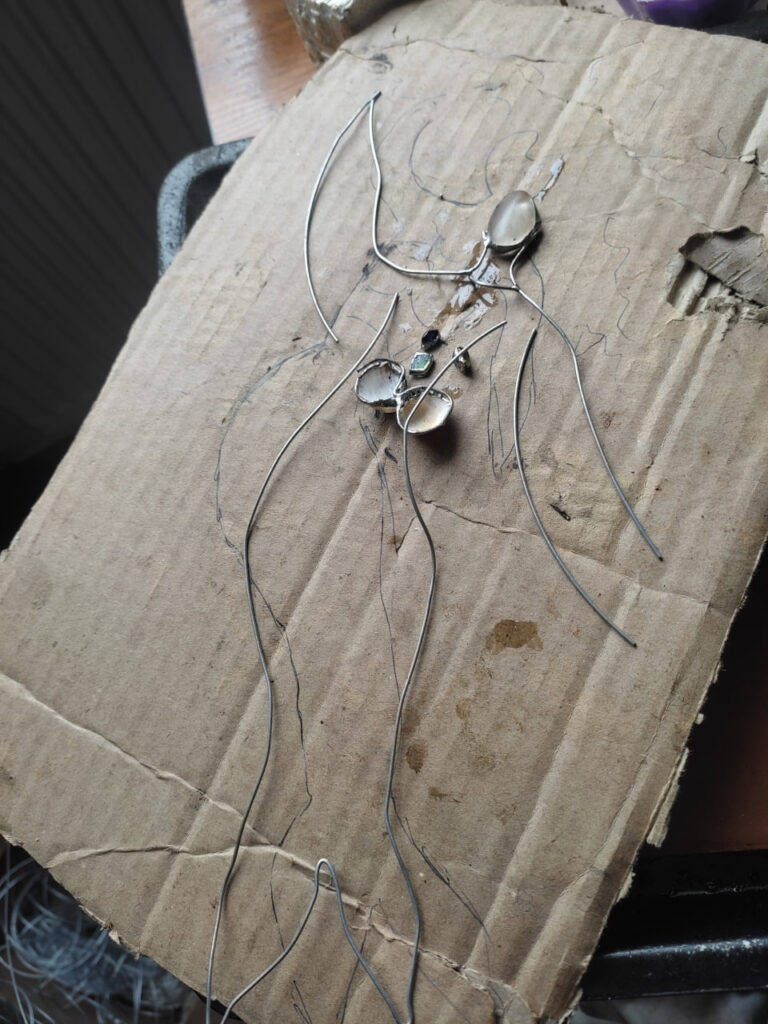
Create wire “bridges” on which bra and necklace will have the strong base.
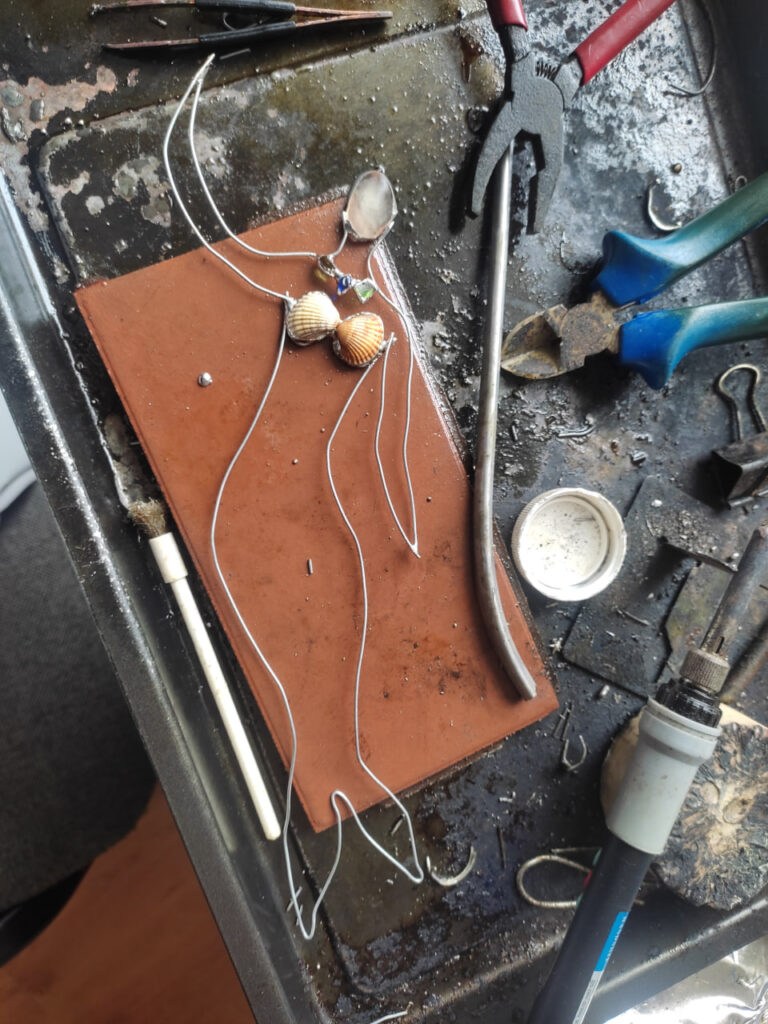
Now you can start to fill up the tail:

I usually connect glass pieces with just the dots of solder, then properly solder all the seams from both sides. Then – connect the hair to the head:
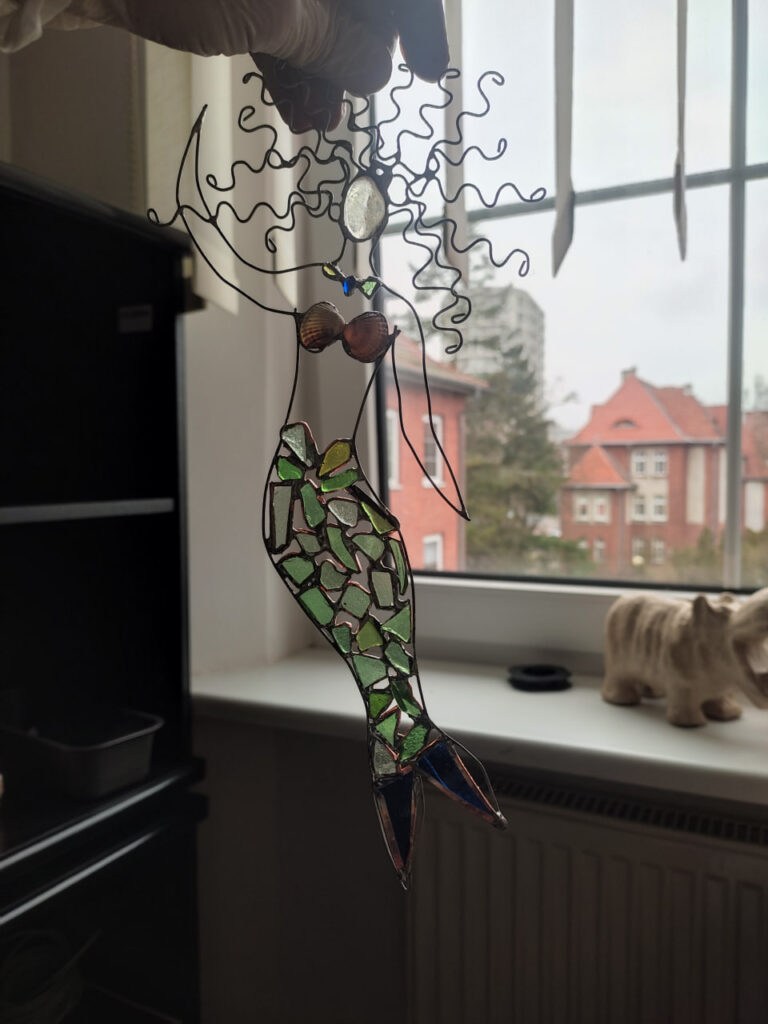
After making sure all the foil is covered with solder and all joints are holding, wash your mermaid and enjoy!
Or you can just order one like that from me 🙂

